Installing Joomla on a localhost is a great way to develop your website offline before launching it online. Here’s a step-by-step guide on how to install Joomla on your local machine using XAMPP, a popular PHP development environment that includes MariaDB, PHP, and Perl:
Step 1: Download and Install XAMPP
- Download XAMPP: Go to the Apache Friends website (https://www.apachefriends.org/index.html) and download the XAMPP installer for your operating system (Windows, MacOS, or Linux).
- Install XAMPP: Run the downloaded installer. During the installation, you can select the components you need (at least Apache and MySQL are necessary for Joomla). Follow the prompts to complete the installation.
Step 2: Download Joomla

- Download Joomla: Visit the Joomla download page (https://downloads.joomla.org) and download the latest version of Joomla.
- Extract the Joomla Files: Once downloaded, extract the Joomla ZIP file to a new folder.
Step 3: Prepare the Database

- Start XAMPP: Open the XAMPP Control Panel and start both the Apache and MySQL modules.
- Access phpMyAdmin: Open your web browser and go to http://localhost/phpmyadmin.
- Create a New Database: Click on “Databases,” enter a name for your new database, and click “Create.”
Step 4: Install Joomla
- Move Joomla Files: Move the extracted Joomla files to a new folder under the
htdocsdirectory in your XAMPP installation folder. For example,C:\xampp\htdocs\joomla. - Begin the Installation: Open your browser and go to http://localhost/joomla. This will start the Joomla installation wizard.
- Configuration:
- Main Configuration: Fill in the basic site information and administrator user details.
- Database Configuration: Enter the database type (usually MySQLi), the hostname (usually
localhost), the database name you created earlier, and database username (usuallyroot) and leave the password field empty (default setting in XAMPP). - Overview: Review your settings, and then check the “Email Configuration” if you want to configure email settings (not necessary for localhost).
4. Install: Click on the “Install” button to complete the installation.
Step 5: Finalize Installation
- Remove Installation Folder: After installation, Joomla will prompt you to remove the installation folder for security reasons. Click on the button to do this automatically.
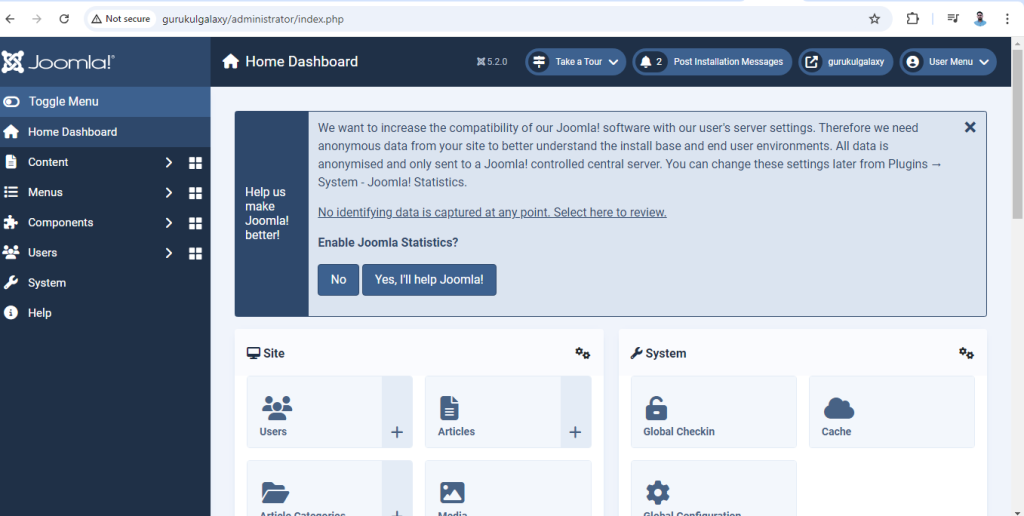
- Administrator Login: To access the backend of your Joomla site, go to http://localhost/joomla/administrator and log in with the username and password you created during installation.
Step 6: Configuration and Customization
- Explore Joomla: Now that Joomla is installed, you can log into the backend and begin building your site, installing templates, and adding content.
This setup provides a safe environment to experiment and learn how to manage a Joomla site without the need for a web hosting service. When you’re ready to go live, you will need to migrate your site to a live server.